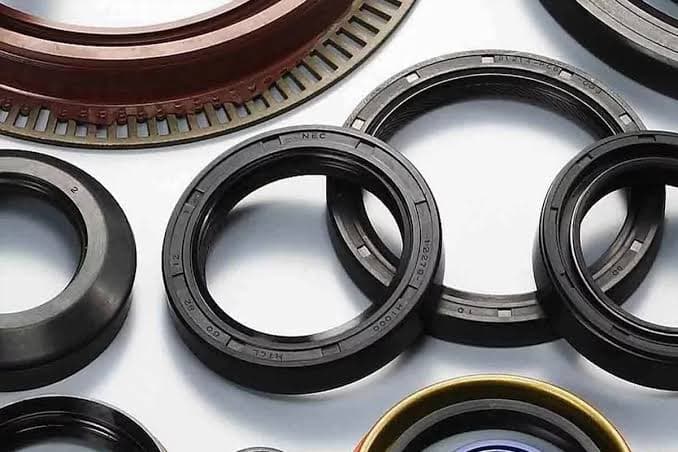
Following these simple steps keeps the oil seal from being damaged during installation.
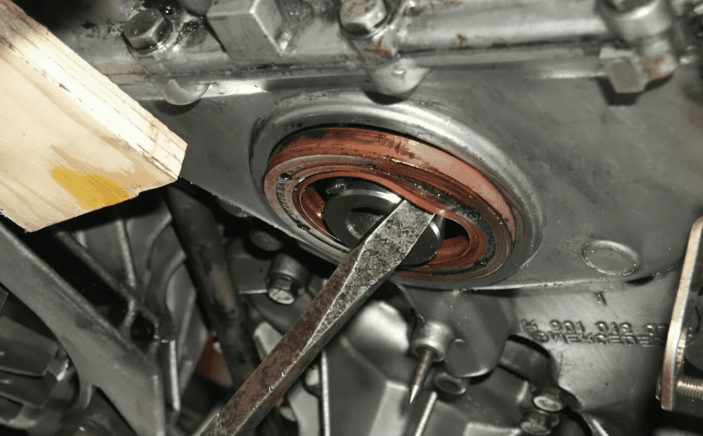
Incorrect installation, even with the best oil seal on the market, can lead to early leakage and a repeat repair bill in the short term. Based on the technical experience of the IranSeal team in reviewing returns from industrial customers, a significant share of early oil seal leaks first reported as a "part defect" turn out on closer inspection to be rooted in installation error, not in the quality of the part itself. This matters especially for maintenance teams working under time pressure to get equipment running quickly; a few extra minutes spent on careful installation can prevent hours of renewed downtime to replace the oil seal again. In this guide we describe the correct steps for installing an oil seal on a shaft in full, step by step, to prevent damage that is entirely avoidable.
Before any installation, the shaft surface must be completely clean, free of scratches and free of any sharp edges. Sharp thread edges, keyways or even slight rust can tear or damage the oil seal's delicate sealing lip as it passes over the shaft, damage that is often not visible to the naked eye but quickly leads to leakage, sometimes in the very first hour of the equipment's operation. If there is a thread or keyway in the path of the oil seal, using a plastic guide sleeve or protective tape is mandatory, even if it adds a few minutes to the installation. It is also advisable, before installation, to check the shaft surface for surface rust or residue of old oil and metal particles and, if necessary, to clean it with a lint-free cloth and a suitable solvent, since any foreign particle left on the shaft surface can act like sandpaper over time and wear the sealing lip.
Before final installation, confirm once more that the oil seal's dimensions match the shaft and housing, even if the part was ordered under the correct code; human error in stock handling or delivery of the wrong part happens more often than you might think. The correct installation direction of the oil seal also matters; the spring-loaded lip should always face the fluid to be sealed, usually the inside of the oil chamber, while the open, springless side faces the outside environment. Installing an oil seal backwards, even if it appears to go in without a problem and without damaging the part, completely disrupts the sealing function, because the sealing lip is designed for pressure from one specific direction and in the reverse direction simply directs the oil outward instead of preventing it from leaking.
Coat the oil seal's sealing lip with a small amount of grease or oil compatible with its rubber; this is especially important for double-lip oil seals, where the space between the two lips should also be partly filled with suitable grease to prevent dryness and initial friction on the second lip. This reduces initial friction as the seal passes over the shaft and prevents the lip from drying out and tearing at the moment of installation. Note that using an unsuitable lubricant that is incompatible with the rubber can, in the long run, cause the oil seal to swell, become overly soft or harden prematurely; for this reason, the compatibility of the lubricant with the rubber type (NBR, FKM or polyurethane) should always be checked before use.
Use a manual or hydraulic press together with a guide sleeve for even installation without tilting. Hitting the oil seal's metal body directly with a hammer, even carefully and with gentle blows, can permanently deform the metal body, damage the internal spring or leave the oil seal seated crookedly in its housing; this kind of damage is often not visible from the outside and only shows up after the equipment is started and a leak appears. The installation force must be applied evenly and perpendicular to the shaft surface; uneven pressure makes the oil seal sink in further on one side than the other, so it sits slightly tilted relative to the shaft axis, a condition that over time causes uneven wear of the sealing lip.
After installation, make sure the oil seal is fully concentric with the housing and shaft. Even a small angular deviation, a fraction of a millimeter, can put uneven pressure on the sealing lip, which over time causes uneven wear and a localized leak from one specific point; this kind of leak usually appears later than one caused by direct damage but is just as destructive in the long run. If possible, before fully starting the equipment, turn the shaft by hand a few revolutions to make sure the oil seal does not rub or bind, and check for any unusual noise or abnormal resistance in rotation.
After installation and start-up, periodic inspection for slight leakage in the first weeks of operation is recommended, because some minor installation damage may not appear immediately and may only show itself after a few days of operation as temperature and pressure rise. Following periodic oil service intervals and checking the condition of the sealing lip during technical inspections also extends the oil seal's service life considerably. Recording the installation date and the specifications of the oil seal used on the equipment's technical card also helps the maintenance team find the root cause faster if a similar problem occurs in the future.
Following the installation steps closely, from preparing the shaft surface to checking final concentricity, matters as much to the oil seal's long-term performance as choosing the right material and dimensions; in fact the two are two sides of the same coin, and neglecting either one undoes the effort spent on the other. Spending a few extra minutes on correct installation prevents the costs and unexpected stoppages caused by early leakage, and in the long run costs far less than replacing the part again and stopping the production line a second time.